Fallout4: Taking Independence Quest Walkthrough

The Moment the Minutemen Stop Being a Joke
Let’s be honest for a second: up until this point, being the General of the Minutemen mostly felt like being an glorified errand boy for people who can’t figure out how to build a turret.
You’ve spent hours fast-traveling to Abernathy Farm to shoot three raiders, wondering why you even bothered with this faction.
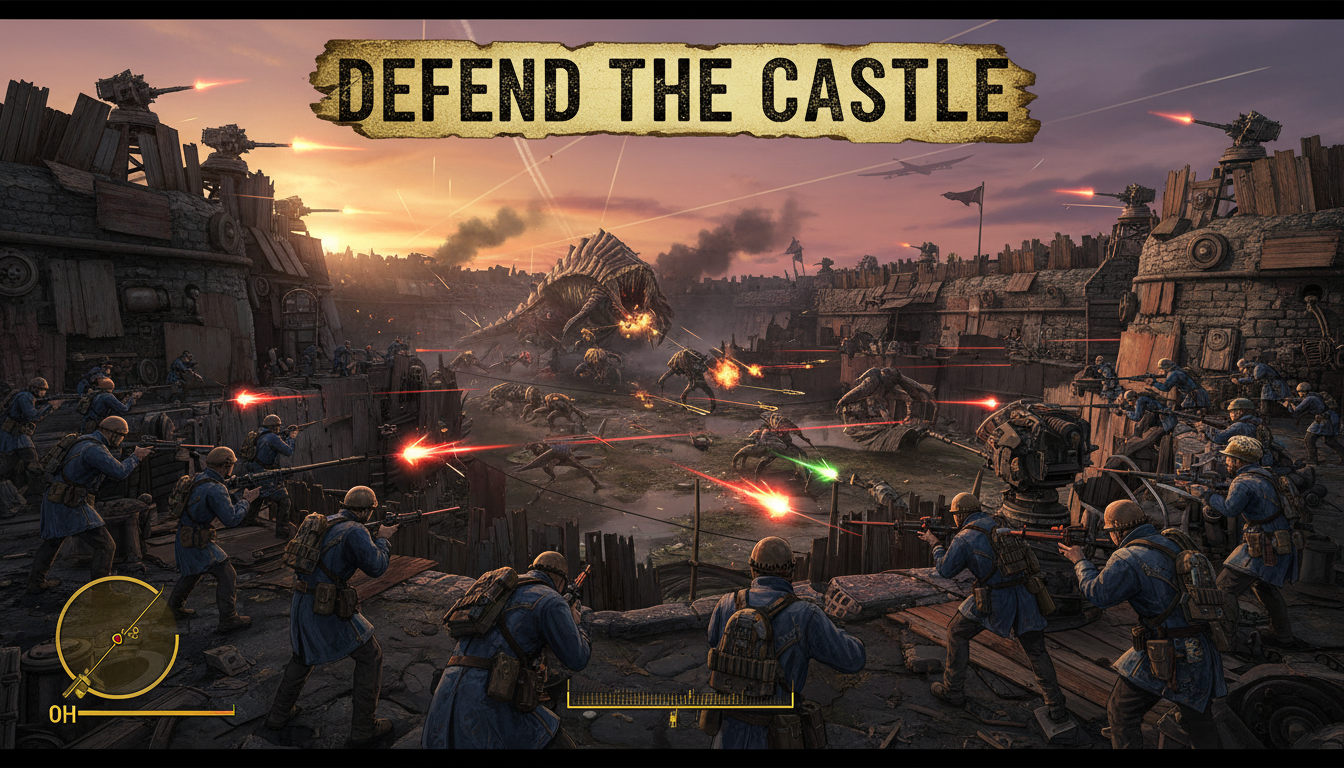
But there is a turning point. There is a specific quest that transforms the Minutemen from a ragtag group of helpless farmers into an artillery-wielding military juggernaut that can actually rule the Commonwealth. It involves a massive pre-war fortress, a tactical assault plan, and a surprise boss fight that has abruptly ended more Permadeath survival runs than any deathclaw ever could.
If you think you are ready to take back The Castle, you better check your ammo count, because what’s hiding in that courtyard doesn’t care about your laser musket.
Planning the Assault
The quest triggers once you have established a few settlements and gained Preston Garvey’s trust (usually after about four recruitment missions).
Preston will ask you to meet him and a strike team at a ruined diner just outside the Castle’s perimeter. This is your first clue that this isn’t a standard radiant quest; the game is staging a genuine military operation.
When you arrive, Preston offers you a choice of tactics: a pincer attack to split the enemy’s attention, a firing line to draw them out, or a direct assault. While the choice feels significant, the outcome is largely the same: you are going to be shooting a lot of seafood.
The Castle is infested with Mirelurks armored, crab-like monstrosities that are notoriously annoying to kill because of their thick shells. A casual deep dive tip here: bring a combat shotgun or a high-damage energy weapon to target their soft faces, or bring a Flamer to cook them in their shells.
You’ll need to clear the courtyard and, crucially, destroy the clutches of Mirelurk eggs scattered around the walls. Do not ignore the eggs.
If you leave them, they spawn relentless Hatchlings that will chip away at your health bar while you are trying to focus on the bigger threats.
The Mirelurk Queen
Just when you think the battle is won when the last Mirelurk hunter stops twitching and the courtyard falls silent, the ground starts to shake.
This is the hook of the quest. Bursting out of the sea-side breach in the wall is the Mirelurk Queen, a kaiju-sized nightmare that serves as one of the toughest mid-game bosses in Fallout 4.
She towers over the fort’s walls and spits a corrosive acid that ignores armor and drains your health rapidly over time.
If you are playing on Survival mode, getting hit by this acid is practically a death sentence. The strategy here changes from “run and gun” to take cover and pray.
Use the corridors of the Castle walls for protection, popping out to unleash heavy ordinance (missiles or mini-nukes) at her exposed face and spouts. Do not stand in the open courtyard, or you will be melted. This fight is the ultimate test of your preparedness, and defeating her feels like a genuine conquest.
🔥Wasteland Propaganda Posters🖥️ Get your Faction Prints here:
Artillery and a Real Base
Once the Queen is essentially turned into a giant pile of crab meat, the quest shifts to restoration. You need to power up the radio transmitter in the center of the courtyard.
This requires building large generators (producing at least 10 power), so make sure you brought plenty of gears, copper, and aluminum with you. Once the radio is humming, the Minutemen Radio station comes back online, broadcasting classical music and freedom across the Commonwealth.
But the real reward isn’t the music; it’s the Artillery Schematics.
Completing this quest unlocks the ability to build artillery cannons at your settlements.
This allows you to throw a smoke grenade anywhere on the map and rain down devastating explosive shells on your enemies, provided they are within range of a settlement. Suddenly, you aren’t just a guy with a gun; you are a commander who can call in airstrikes.
Taking Independence is the moment the game finally rewards you for all that settlement building, giving you a base of operations that looks cool, defends itself, and projects power across the entire map.


Post Comment