Fallout 4 Deep Dive: The Speak of the Devil Quest & Its Three Deadliest Locations
Intro
Fallout 4 is packed with quests that send you into predictable shootouts… and then there’s Speak of the Devil, a mission that intentionally pushes you through some of Boston’s most chaotic micro-zones. It’s not a main quest. It’s not advertised. It doesn’t even pretend to be friendly. It just drops you into three places that tell their own stories through wreckage, traps, raiders, and pre-war desperation.
If you’re the kind of player who slows down to read terminals, checks corners, and looks for the story hidden under the rubble, this is your kind of mission.
Let’s break down the three major locations:
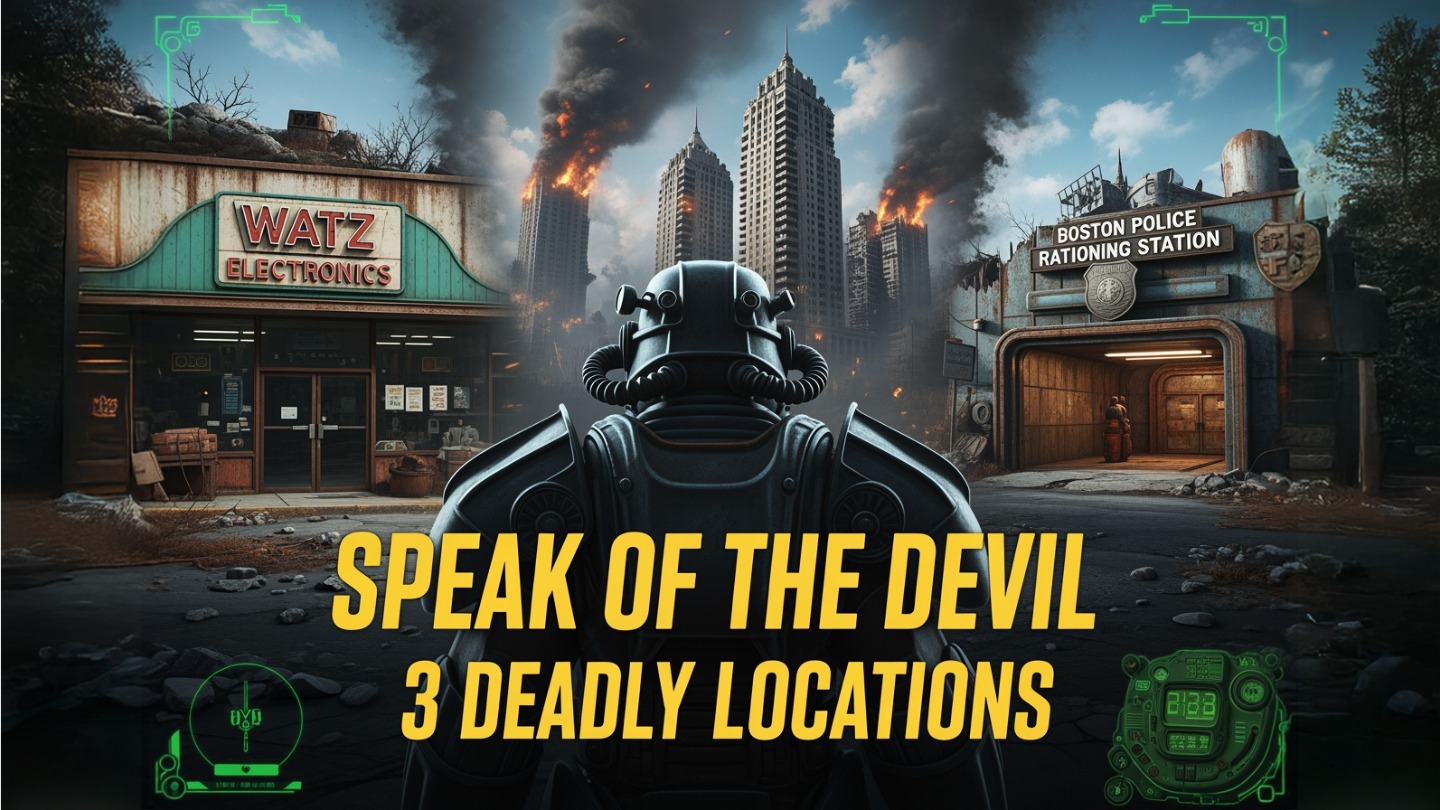
Watz Electronics, Monsignor Plaza , Boston Police Rationing Station
And how each contributes to the atmosphere of the quest.
1. Watz Electronics : The Ambush Shop of Boston’s Financial District
Lore & Story
Watz Electronics was just another pre-war tech store; household gadgets, handheld tools, basic tech. But when the bombs fell, panic turned the shop into a makeshift fort. Someone trapped the place like they were expecting raiders to come through at any minute… and judging from what we find, they weren’t wrong.
The leftover traps tell you everything you need to know:
- Tripwires wired to grenades
- A turret system rigged to fire without warning
- Mines hidden behind shelves
- Security terminal rewritten by someone who really didn’t want company
Someone barricaded themselves inside Watz Electronics trying to survive a city collapsing around them.
Spoiler: it didn’t work.
Walkthrough & Gamer Notes
- Approach slow :the first trap is right at the entrance.
- Disarm the tripwires for free grenades.
- The back-room Expert terminal opens a safe with caps, ammo, and gear.
- Don’t miss the mini-nuke on the high shelf.
- Components here are perfect if you’re crafting laser weapons or power armor mods.
Why it matters for the quest:
Watz sets the tone: traps, tension, unexpected loot, and a very someone died trying to survive this vibe. It’s the warm-up before the real chaos.
2. Monsignor Plaza : The Vertical Warzone
Lore & Story
Monsignor Plaza is one of the most violent vertical combat zones in Fallout 4. The entire building is half-collapsed, half-burning, and fully infested with raider clans. These are not scavengers, these are the kind of raiders who took advantage of hundreds of refugees trying to escape the financial district.
Every floor tells a story:
- Half-eaten meals abandoned during a raid
- Makeshift execution corners
- Disassembled valuables piled on tables
- Raider graffiti taunting whoever comes next
This isn’t a hideout, it’s a war trophy.
The raiders own it because they took it by force.
Walkthrough & Gamer Notes
- Expect mid-range shootouts in tight hallways.
- Floors are broken, watch for drops that send you back down.
- Raiders exploit vertical angles, so use cover aggressively.
- Grenades and explosives are almost required here.
- The boss room at the top can overwhelm you if you don’t clear enemies floor-by-floor.
Why it matters for the quest:
Monsignor Plaza becomes the quest’s climax , the moment where you transition from careful scavenger to full combat dominance. This location is pure chaos, and the quest wants you to feel that pressure.
🔥Wasteland Propaganda Posters🖥️ Get your Faction Prints here:
3. Boston Police Rationing Station : Pre-War Control & Paranoia
Lore & Story
If Watz Electronics shows fear…
And Monsignor Plaza shows violence…
Then the Boston Police Rationing Station shows control.
This bunker-like rationing post was built in the final days before the bombs, a place where police tried to maintain order while the city spiraled. Turrets, lockdown terminals, ration tokens, and emergency crates show how tightly things were regulated.
Inside you find:
- Government-locked ammo and medical supplies
- Automated turrets still guarding the place
- Logs of civilians denied food due to “capacity limits”
- Notes hinting at riots and collapsing morale
The atmosphere hits differently.
Instead of raiders fighting for fun, you’re now walking through the remains of a society collapsing under its own fear.
Walkthrough & Gamer Notes
- Watch the entrance turret, it melts low-level players.
- Laser tripwires unlock hidden storage rooms.
- Terminals reveal ration-control logs that explain the chaos.
- The final loot stash includes ammo, meds, and survival gear.
Why it matters for the quest:
This location brings the emotional tone of the quest full circle. From chaos to violence to control, each place represents a different stage of Boston falling apart.
Putting It All Together : Why Speak of the Devil Hits Hard
The genius of this quest is that it doesn’t need flashy cutscenes or dialogue.
Instead, it uses environmental storytelling:
- Watz Electronics: Fear of the world ending
- Monsignor Plaza: Violence born from lawlessness
- Rationing Station: Pre-war desperation to maintain order
All three locations tell the same story from different angles:
Boston didn’t die in one explosion , it died in a chain reaction of fear, violence, and survival instincts.
The quest becomes more than a fetch or clear objective.
It becomes a narrative tour through Boston’s slow, painful collapse.
Final Gamer Tips for Dominating the Quest
- Bring mid-range weapons: rifles, shotguns, or automatic carbines
- Stock stims before Monsignor Plaza
- Use V.A.T.S. inside Watz to spot traps early
- Armor up : this quest ramps up fast
- Don’t rush the Plaza; clearing floor by floor saves your life
- Read every terminal in the Rationing Station — the lore payoff is huge
Video Walkthroughs
Check out the below playlist on my channel







Post Comment