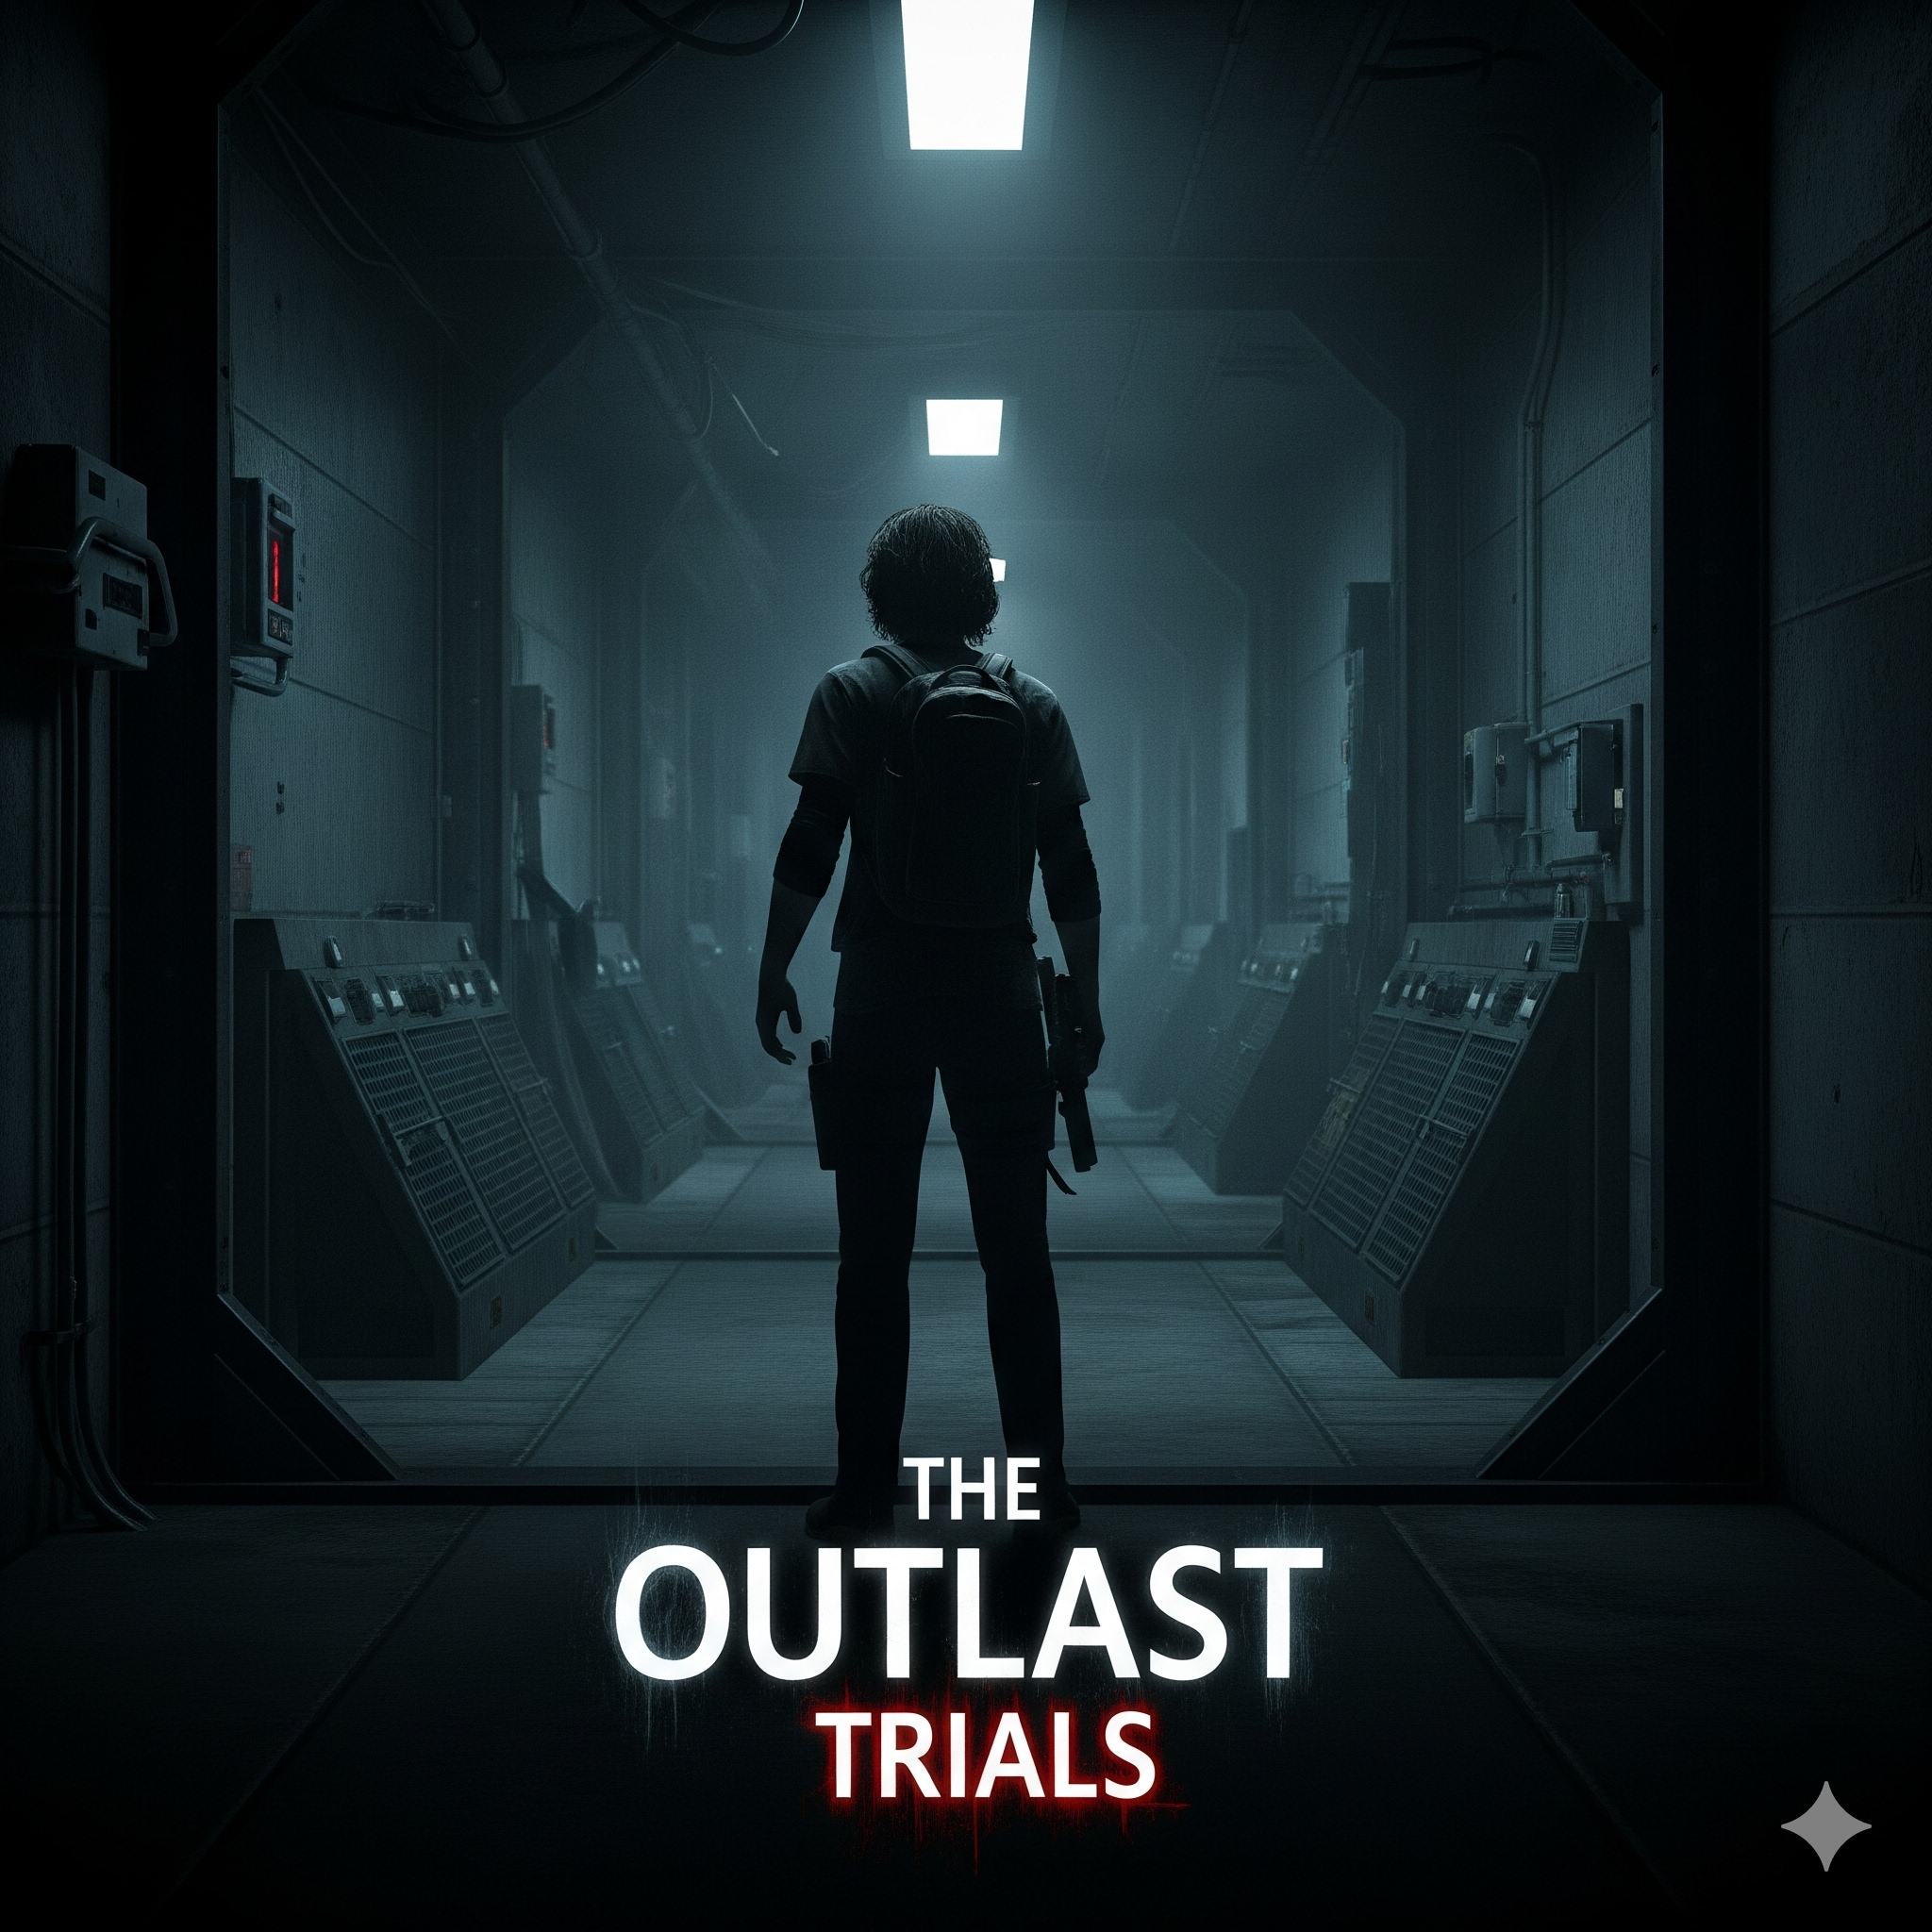
Outlast Trials: Beginner’s Survival Guide
Introduction
The Outlast Trials isn’t just a horror game; it’s a relentless test of your sanity, your reflexes, and your ability to work under extreme duress. Forget what you know about traditional survival horror; Murkoff Corporation plays by its own rules.
As an expert who’s navigated the horrors of the Sinyala Facility countless times, I’m here to equip you with the knowledge to survive, and perhaps even escape, the psychological torment. This guide will cover everything a new player needs, from choosing your “rig” to mastering the art of stealth and understanding the devilish “variators.”
Choosing Your Rig: Your First Step to Survival (The Loadout)
Before you even step into the Trial, you need to understand your character’s “rig.” This is essentially your starting loadout of unique abilities and tools that can make or break your run. For new players, the goal is balanced utility and self-preservation.
- Prescriptions (Talents): These are passive abilities you unlock.
- Recommended Early Prescriptions:
- Heavy Swinger: Increases melee attack damage. Crucial for stunning enemies and breaking environmental objects faster.
- Strong Arm: Lets you throw bottles/bricks farther. Excellent for distractions or hitting distant traps.
- Instant Use: Allows you to quickly use health items or antidotes without the usual animation. A life-saver in hairy situations.
- Silent Search: Reduces noise when searching containers. Essential for stealth.
- Recommended Early Prescriptions:
- Amps (Abilities): These are active abilities you can equip before a Trial. You can only bring a limited number, so choose wisely.
- Best First-Time Loadouts (Amps):
- Health (Amp): A portable healing syringe. Absolutely vital for new players who will inevitably take damage. Prioritize upgrading this.
- Stun (Amp): A device that stuns enemies in an area. Incredible for escapes, revives, or creating openings.
- Heal (Amp) or Stun (Amp) + Noise Trap (Amp): The Noise Trap (a throwable device that creates a loud noise to attract enemies) is fantastic for misdirection. Pair it with a healing or stunning ability.
- Best First-Time Loadouts (Amps):
- Exhilarants (Boosts): These are limited-use consumables found during a Trial (e.g., healing syringes, battery packs, antidote). Learn to manage them.
Pro-Tip: Don’t be afraid to experiment after your first few runs! As you get comfortable, you might find other Amps or Prescriptions fit your playstyle better.
👉 Play Outlast on PS4:
Navigating the Trials: Objectives, Layouts, and the Psychosis Meter
Each Trial (e.g., Police Station, Orphanage) has unique objectives and layouts, but the core mechanics are consistent.
- Main Objectives: Follow the on-screen prompts. They often involve activating generators, collecting items, or using specific tools.
- Side Objectives (Challenges): These appear randomly and offer extra rewards (XP, currency). They might involve finding hidden collectibles or completing a task under specific conditions.
- Psychosis Meter: This is your sanity meter. It fills up when you’re exposed to specific enemies (like the Imposter) or certain environmental hazards.
- When it’s full: You’ll start hallucinating, seeing terrifying visions that can obscure your view, disorient you, and make enemies appear where they aren’t.
- How to cure it: Find and use antidotes (orange syringes). These are often in specific dispensers or found as loot. Prioritize them when your meter is high.
Teamwork: While you can play solo, The Outlast Trials truly shines in co-op. Communicate constantly: call out enemy positions, objective locations, and when someone needs a revive.
Best deals and game discounts
Understanding Variators: The Trial’s Twisted Modifiers
Variators are randomized modifiers that change how each Trial plays out. They add replayability and force you to adapt. You’ll encounter them increasingly as you progress.
- Positive Variators: These make the Trial slightly easier (e.g., more loot, less damage from certain traps).
- Negative Variators (The Real Challenge): These are the game-changers. Examples include:
- Limited Exhilarants: Fewer health items or batteries spawn.
- Darkness: The map is much darker, making night vision crucial.
- Increased Enemy Spawns: More enemies patrol the area.
- Traps Everywhere: More environmental hazards like tripwires and pressure plates.
- Adapting: Before starting a Trial, always check the active Variators. If it’s a “Darkness” Trial, ensure you have plenty of battery packs. If it’s “Limited Exhilarants,” be extra cautious with your resources.
Stealth vs. Noise
This is the core decision-making process in Outlast Trials. Knowing when to be quiet and when to make a ruckus is vital.
- Stealth (Your Default Mode):
- Crouching: Reduces your visibility and noise significantly. Use it constantly.
- Darkness: Enemies have poor vision in the dark. Hide in shadows.
- Peeking: Use cover (corners, crates) to peek around without fully exposing yourself.
- Distractions: Throw bottles or bricks (found as loot) to create noise away from you, drawing enemies elsewhere. This is incredibly effective.
- Doors: Close doors gently to avoid attracting attention.
- Slow Actions: Searching cabinets, opening certain doors, or picking up specific items can make noise. Be aware!
- Noise (Your Last Resort or Strategic Move):
- Running: Fastest way to move but incredibly loud. Only run when absolutely necessary (e.g., escaping a pursuer, reaching a safe zone).
- Breaking Objects: Smashing glass, crates, or locked doors makes significant noise, attracting nearby enemies. Use this only when you need to access an area quickly and are prepared for a confrontation or have a clear escape route.
- Traps: Triggering a noise trap (like a tripwire) alerts enemies. Use this to your advantage to funnel them or create a diversion.
- Melee: Hitting enemies with a melee weapon (your fists, usually) makes noise, but it’s essential for stunning them for a brief escape window.
Rule of Thumb for New Players: Prioritize stealth. Noise should be a calculated risk, not a casual occurrence.
Tips for Staying Alive
Listen Actively: Sound design is paramount. Footsteps, growls, and environmental cues will tell you where enemies are and what they’re doing. Use headphones!
Manage Batteries: Your night vision device (NVD) is your best friend in the dark. Conserve battery life by only using it when necessary. Look for battery packs frequently.
Know Your Enemies: Each “Ex-Pop” (enemy type) has unique behaviors. Some are slow but hit hard, others are fast hunters, and some inflict psychosis. Learn their patterns.
Environmental Awareness: Utilize lockers, beds, and cubicles to hide. Look for crawl spaces, vents, and broken walls for escape routes.
Don’t Engage Unnecessarily: You are not a combatant. Your goal is survival and objective completion, not clearing the map of threats. Avoid confrontation unless absolutely unavoidable.
Revive Teammates Safely: A downed teammate needs help, but rushing in blindly will only get you killed too. Clear the area or use a distraction/stun before attempting a revive.
Use the Environment to Your Advantage: Throwables like bottles and bricks can activate pressure plates or trigger noise traps from a distance, or simply distract enemies.
Patience is a Virtue: Sometimes, the best move is to wait. Let a patrolling enemy pass, or observe a room before entering. Rushing often leads to mistakes.
Learn the “Safe Rooms”: Many Trials have “safe rooms” (usually marked with a light and a specific sound cue) where you can hide and enemies cannot enter. Use them to catch your breath or plan your next move.
Practice Makes Perfect: Don’t get discouraged by early deaths. Each failure is a learning opportunity. Pay attention to how you died and adjust your strategy.
My Final Ranking
From weakest to strongest, here’s how the Ex-Pops stack up:
C Tier → The Blind (sound-based, easy to avoid)
B Tier → The Skinner Man (psychological pressure, but not lethal)
A Tier → Mother Gooseberry, Sergeant Coyle (fast, aggressive, patrol control)
S Tier → The Imposter (unpredictable, destroys trust, hardest to counter)
Video Walkthroughs
Check out the below playlist on my channel


Post Comment